Sometimes you just want something that feels like a treat—but also leaves you feeling good after. That balance of a little indulgence with some real nourishment. That’s actually how these protein peanut butter cups came to be. I wanted something quick, satisfying, and supportive for my body—but that also felt indulgent and enjoyable.
For me, in this postpartum/breastfeeding season I’m especially mindful of my protein intake- while still craving something a little sweet (because let’s be honest… sometimes you just need a treat). And the best part?.. There’s no baking required, which makes these a perfect option even if you don’t consider yourself much of a baker.
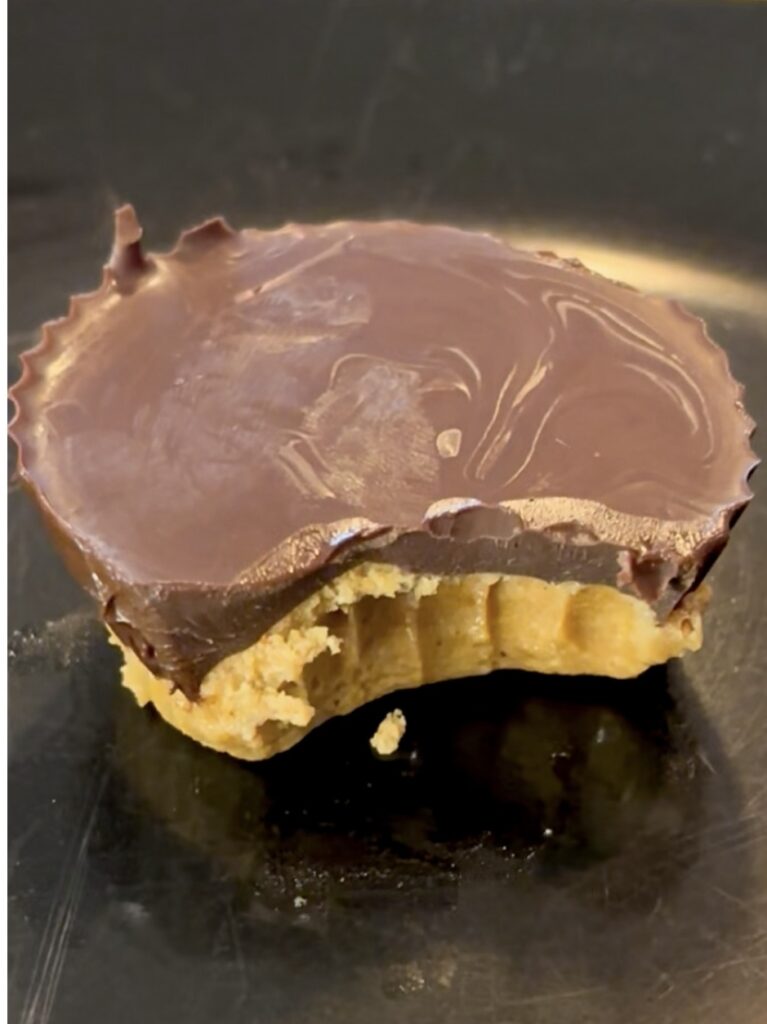
I started making these, and every time I shared them with friends or family, the response was the same: “Okay… I need this recipe.” So here it is—simple, delicious, and packed with a little extra nourishment!
Recipe:
- Prep Time: 10 minutes
- Freeze time: 30 minutes
- Total Time: 40 minutes
Notes:
-Makes 24 Cups.
-I use silicone cupcake liners for this recipe—they’re a cost-effective, reusable option that don’t require greasing, and the cups pop out easily. They also give that classic ridged edge, just like a real peanut butter cup.
-Here’s a link to the ones I use. Silicone muffin liners
-I use peanut butter for this recipe but you can use any nut butter you prefer.
-I use this cookie scoop to scoop out my mixture which allows for less mess and easy measuring.
Ingredients:
- 1 3/4 cup natural peanut butter.
- 70 grams honey (I use raw, but you can also use maple syrup).
- 4 tsp vanilla extract.
- 70 grams collagen powder (or your favorite protein powder).
- 2 cups dark chocolate chips.
- 7 tsp coconut oil.
Instructions:
- In a bowl, mix together the peanut butter, honey, and vanilla extract until smooth. If your honey is thick, gently warm it first so it blends easily.
- Add your collagen powder to the mixture. Using a spatula mix well until combined.
- Scoop the peanut butter mixture into your silicone muffin liners—I use my smallest cookie scoop, which holds about 1.5 tbsp.
- Once all the mixture is scooped, gently press it down with your fingers or the back of a spoon to flatten it into the muffin liners.
- Place your muffin trays in the freezer for 10 minutes to harden.
- While your trays are in the freezer, melt the chocolate chips with the coconut oil in the microwave, stirring every 30 seconds—I like using a glass measuring cup with a pouring spout for easy melting and pouring. You can also use a double boiler.
- Once the chocolate is melted, remove your muffin trays from the freezer, and pour it evenly over each peanut butter cup, aiming to use roughly the same amount for each. I like to gently tilt or angle the pan once I’m done pouring to help the chocolate fully cover the peanut butter and create a smooth, even layer.
- After the chocolate is evenly poured over each peanut butter cup, transfer them to the freezer for about 30 minutes, or until fully set.
- Remove from the freezer, pop the cups out of the silicone muffin liners, and store them in a freezer-safe container. For the best texture, take one out about 15 minutes before eating to let it soften slightly.
Storing:
Store the cups in the freezer, taking one out whenever you’re ready to enjoy. They’ll keep well for up to 2–3 months.
*This post contains affiliate links. We may earn a small commission at no extra cost to you.

Hilary Boucher
Hilary lives in Collingwood, Ontario with her husband and children. When she's not assisting her clients, Hilary loves spending time in Northern Ontario with friends and family. Hilary offers a variety of manual and movement services, courses, and continued education geared towards the ever-expanding minds and life-long students.